DoughTools

Baking guides

Get better pizza from the oven you already have.

Choose the oven closest to your setup, see the recommended path and follow a practical bake approach for preheating, launching and finishing the pizza.

Home oven and Pizza oven remain the Pizza Plan choices; other setups use the closest practical guidance path.

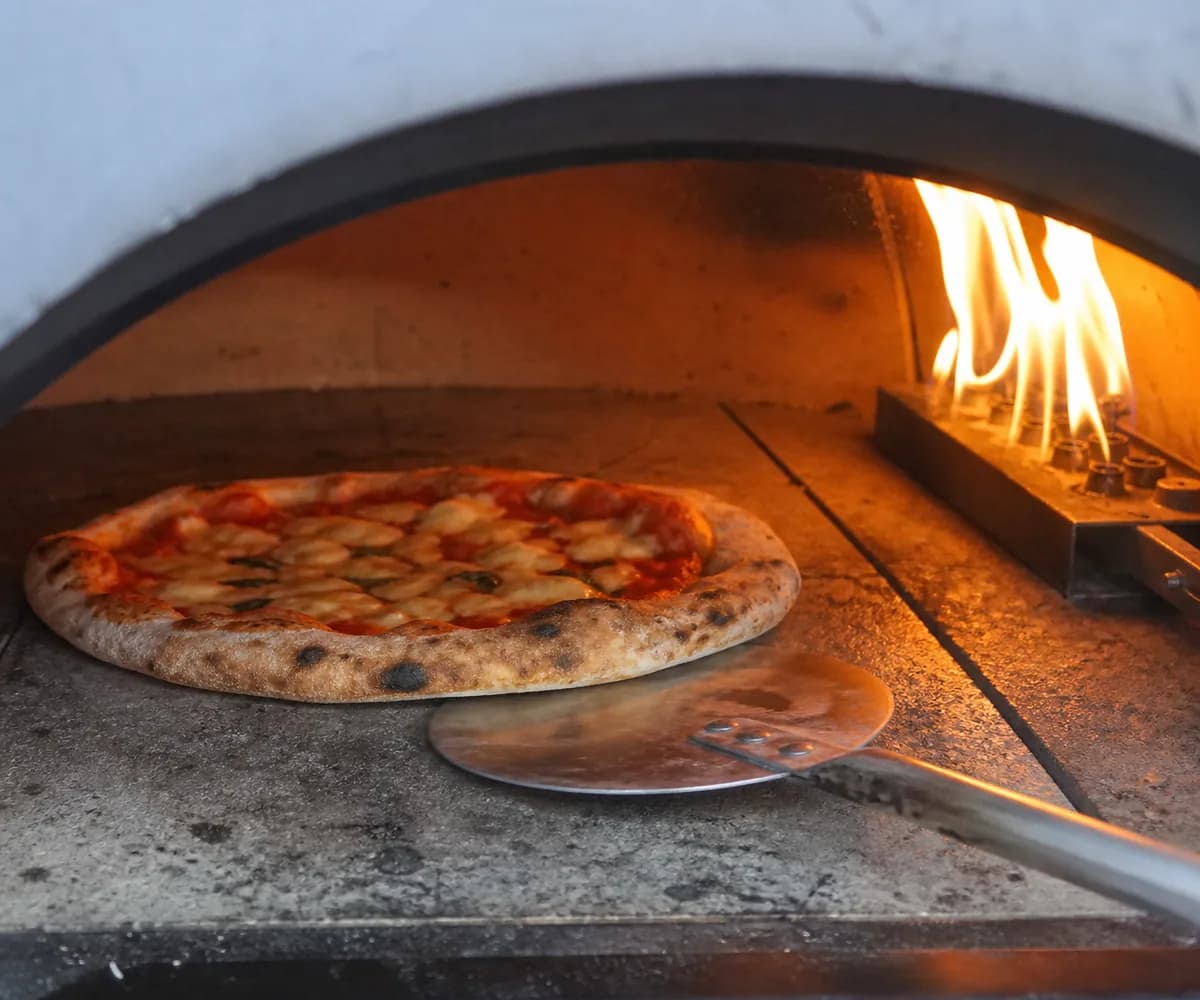
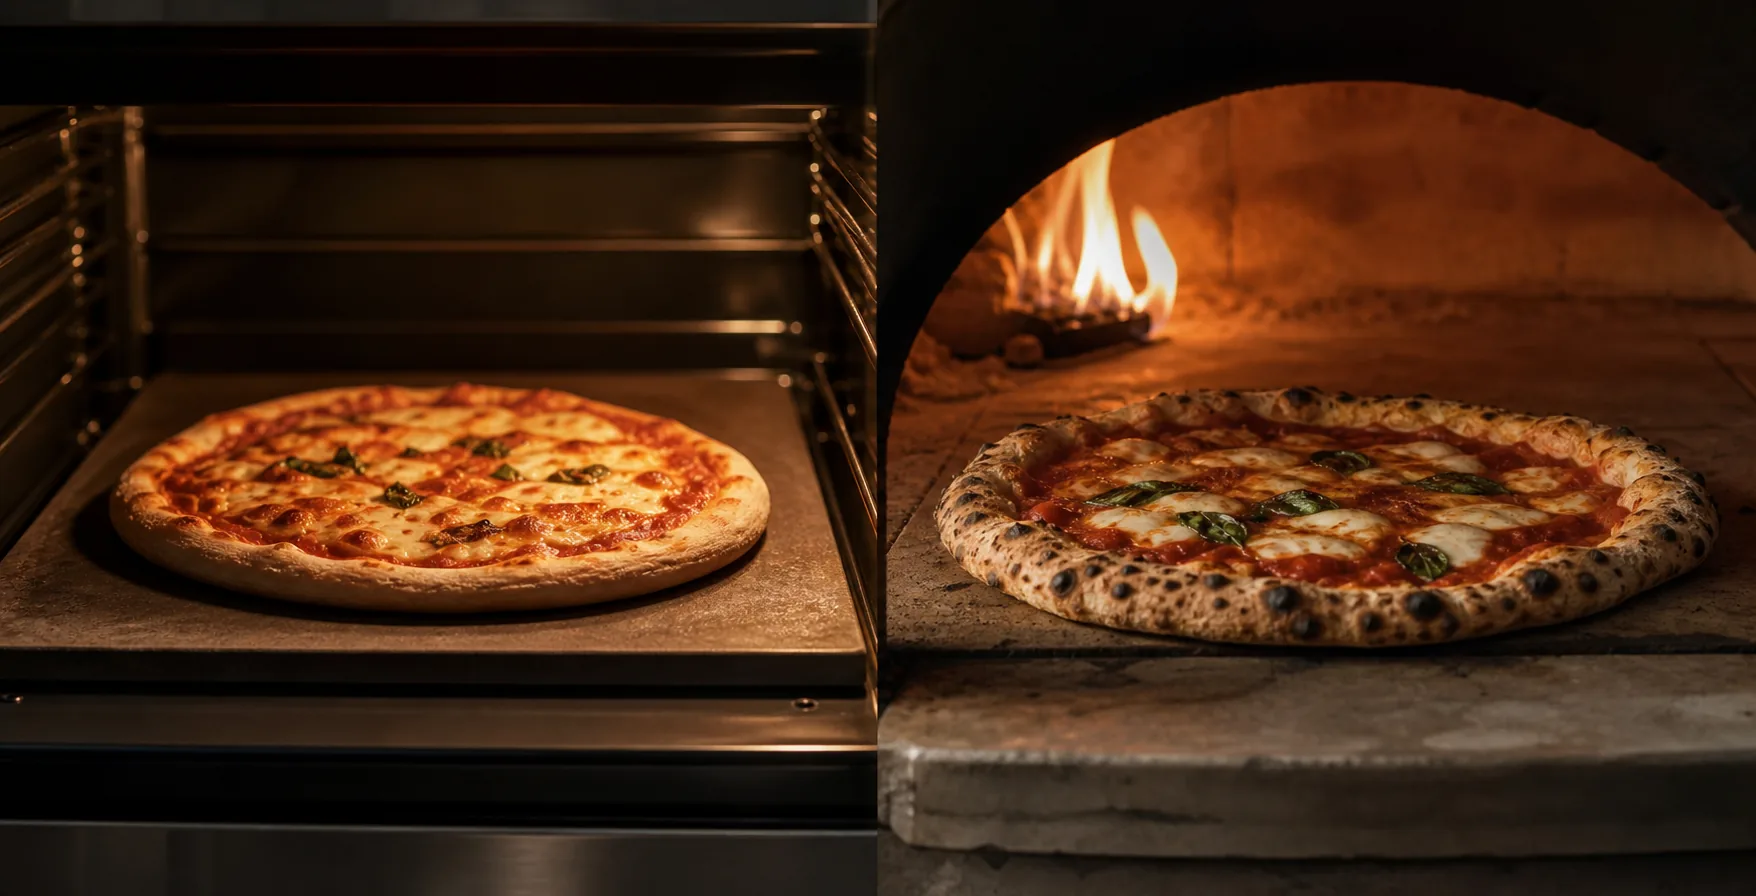
Home oven and high-heat pizza oven shown side by side with pizzas baking on their respective surfaces.

Oven assistant

What oven do you use?

Pick the closest path first. The setup, bake rhythm and most useful tools change depending on how your oven delivers heat.

Recommended setup

Recommended home-oven setup

Expect a steadier bake with more time for the top and base to catch up.

  • Use the highest safe heat your oven can hold.
  • Preheat the steel, stone or tray thoroughly.
  • Start in the upper half of the oven.
  • Watch the base colour and use top heat only when needed.
Jump to the matching setup
Guidance mode: BeginnerGuidance depth

Keep the first bake simple

Pick the closest oven path, preheat well and watch whether the base or top finishes first.

  • Use one reliable surface.
  • Avoid constant changes during the bake.
  • Adjust the next pizza based on what browned first.

Useful tools for this path

Start with the tools that clarify heat and handling for the oven you selected.

View all equipment
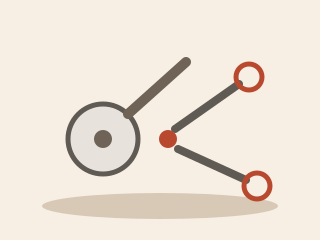
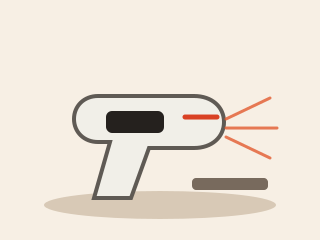
Infrared thermometer aimed at a hot baking surface.

Essential

Infrared thermometer

Checks whether the stone, steel or oven floor is actually ready.

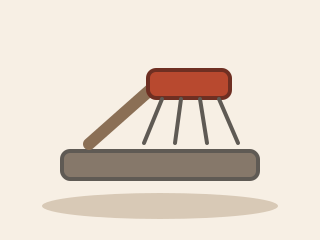
Long launching peel holding an untopped pizza base.

Essential

Launching peel

Moves a topped pizza from the station to the hot surface.

Folded fire blanket beside heat gloves.

Essential

Fire blanket and heat gloves

Basic protection around flame, hot metal, stones and trays.

Digital kitchen scale with a small bowl on top.

Essential

Digital scale

Measures flour, water, salt and dough-ball weight repeatably.

Practical bake guidance

01

Set up

Choose the surface and rack or floor position that matches your oven.

02

Preheat

Give the baking surface enough time to store useful heat.

03

Launch

Move quickly and keep the pizza shape intact as it hits the heat.

04

Turn and finish

Balance the base, rim and top instead of chasing one perfect number.

Plan with the oven you actually have.

Pizza Plan uses your oven choice for preheat timing, baking rhythm and kitchen guidance.

Plan a pizza

Practical setup paths

Follow the setup closest to your oven

These are the detailed setup paths behind the assistant. Use the one that best matches your oven, baking surface and heat source.

Home oven with baking steel

Steel transfers heat quickly. It gives strong base colour but may require careful top-heat management.

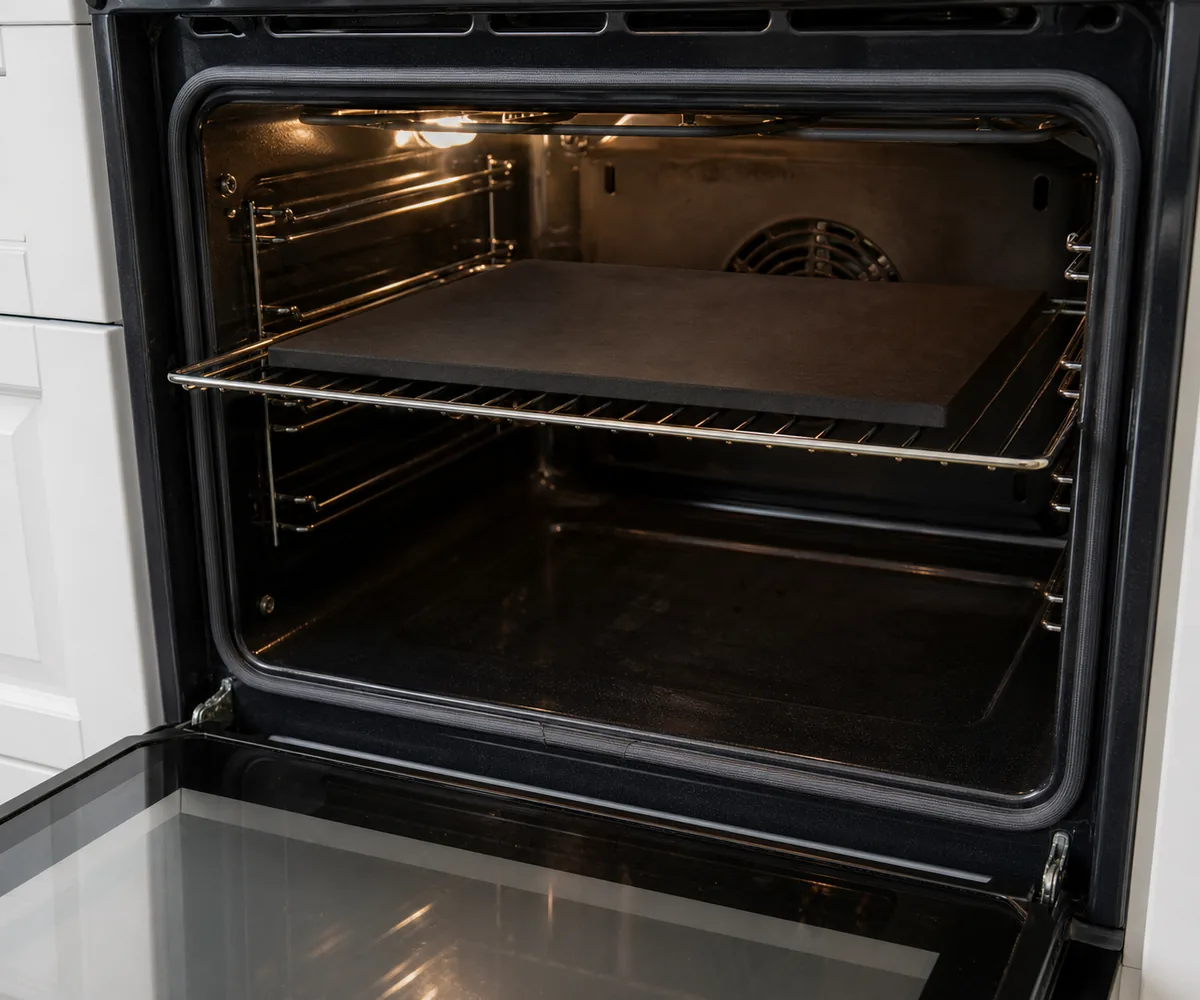
Baking steel positioned on an upper rack inside a home oven.
Place the baking steel in the recommended upper position so the base receives strong conductive heat while the top can still brown.
  1. 01PreheatPreheat for the current 75 min pizza-plan window.

    A steel stores heat first, then transfers it into the base quickly.

  2. 02PositionStart in the upper half of the oven.

    This helps the top keep up with the steel's strong bottom heat.

  3. 03LaunchLaunch quickly onto the hot steel.

    Keep the peel dry and moving so the dough does not stick before it reaches the surface.

  4. 04Manage the bakeAdd controlled top heat only when the top lags.

    A dark base with a pale top means bottom heat is outrunning top heat.

  5. 05Know when it is readyRemove when the base has colour and the top has caught up.

    Start checking near about 5 min; steel can finish the base early.

Home oven with pizza stone

Stone heats the base more gently than steel and usually needs a thorough preheat.

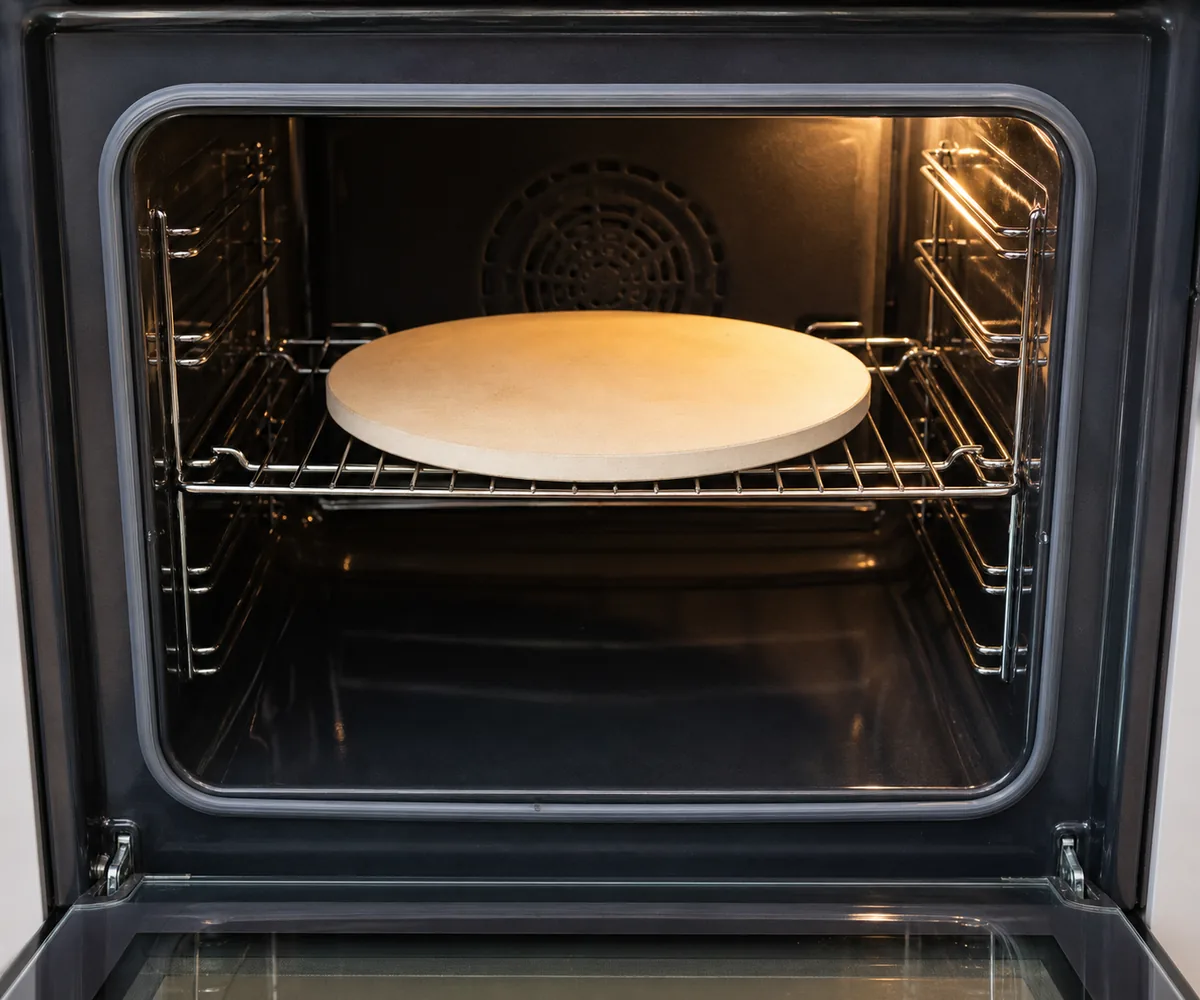
Pizza stone positioned on an upper-middle rack inside a home oven.
Position the stone correctly and give it a thorough preheat before launching the pizza.
  1. 01PreheatPreheat for the current 75 min pizza-plan window.

    A stone often needs more time to heat through than the oven air display suggests.

  2. 02PositionStart in the upper-middle or upper third.

    This keeps the top browning while the gentler stone sets the base.

  3. 03LaunchLaunch only when the stone is fully ready.

    An underheated stone leaves the underside pale, soft or bread-like.

  4. 04Manage the bakeUse brief top heat when browning lags.

    Stone is more forgiving than steel, but the top can still need help near the end.

  5. 05Know when it is readyCheck that the base is baked, not just the top.

    Plan around about 5 min, then use the baked result to adjust the next pizza.

Home oven with baking tray

A baking tray is less powerful than steel or stone, so the dough and topping load must remain realistic for the available heat.

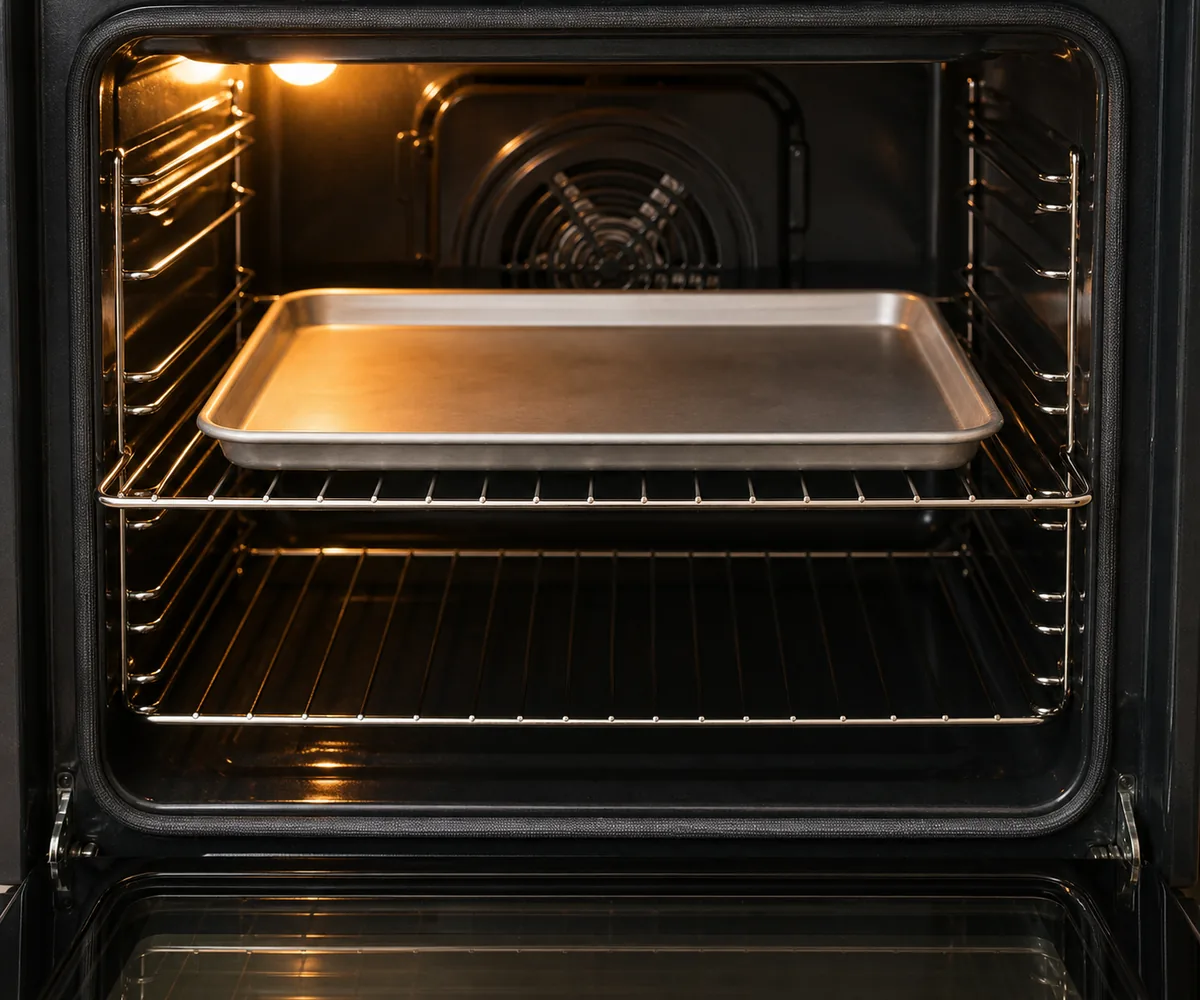
Metal baking tray positioned on an upper rack inside a home oven.
Use the tray in the recommended position and keep the pizza realistic for the heat available.
  1. 01PreheatPreheat until the oven and tray setup are ready.

    The oven reaching its set temperature may be enough for a tray, but results still depend on real surface heat.

  2. 02PositionStart in the upper half of the oven.

    A tray has less stored heat, so top heat and a realistic topping load matter.

  3. 03LaunchMove the pizza onto the tray cleanly.

    Avoid overloading the pizza before it reaches the heat.

  4. 04Manage the bakeKeep moisture low and rotate for hot spots.

    A weak surface struggles when sauce, cheese or toppings release too much water.

  5. 05Know when it is readyAccept a longer, less pizza-oven-like result.

    Use about 5 min as the plan, then judge the base, rim and toppings.

Pizza oven

A pizza oven bakes quickly, so launch position, turning and flame exposure matter throughout the bake.

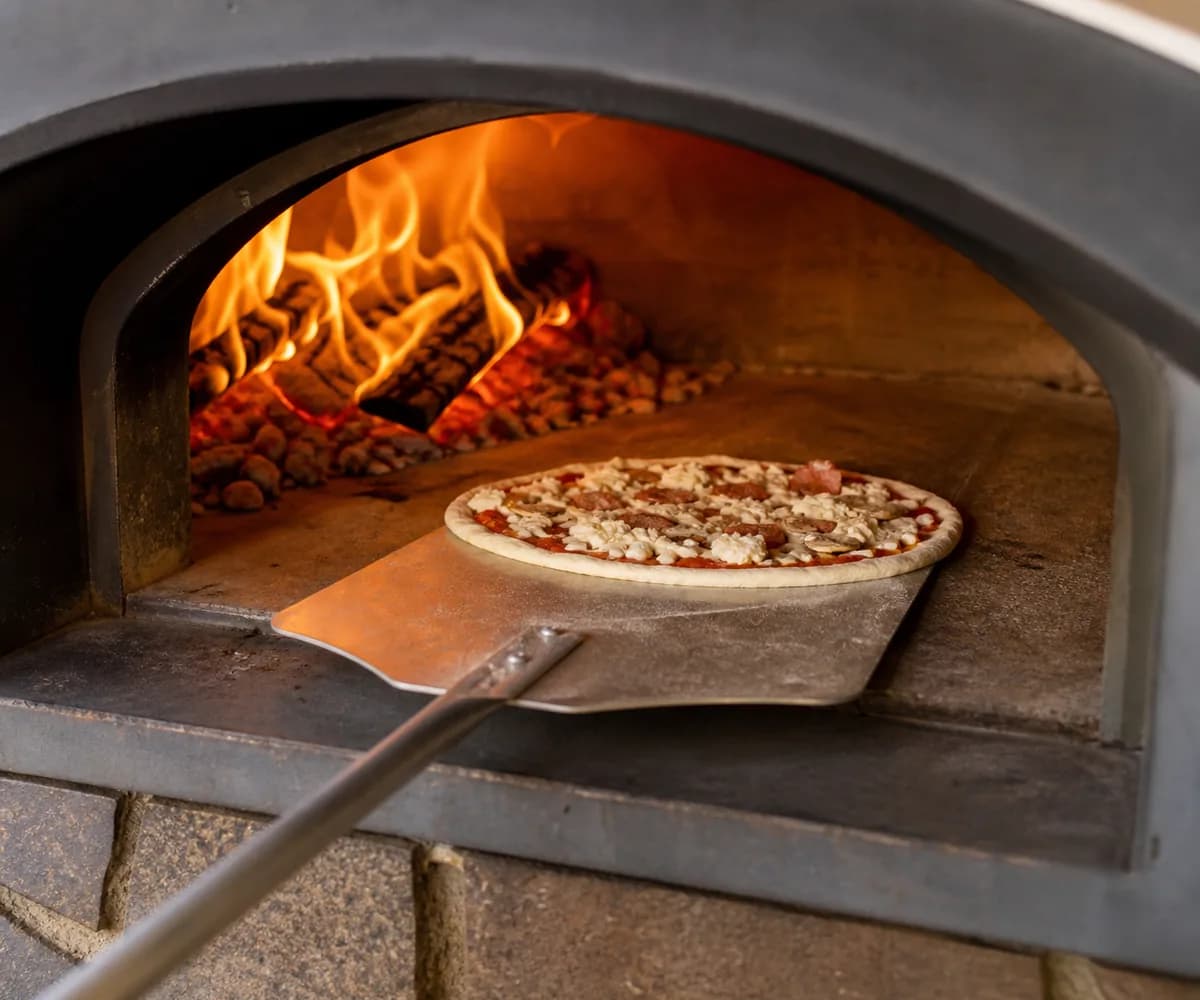
Pizza being launched from a peel onto a pizza oven floor away from the strongest flame.
Launch onto the hot oven floor with enough distance from the strongest flame.
  1. 01PreheatPreheat for the current 60 min pizza-plan window.

    Judge the oven floor, not only the flame or air heat.

  2. 02PositionLaunch where floor heat and flame exposure are balanced.

    Too close to the strongest heat can scorch the rim before the base is ready.

  3. 03LaunchLaunch with a stable flame and clear floor spot.

    A stable launch gives the base time to set before turning starts.

  4. 04Manage the bakeTurn frequently and move relative to the flame.

    Rotate as needed for even color. A short 60–90 sec bake leaves little time to recover from hot spots.

  5. 05Know when it is readyRemove when the base, rim and toppings are all baked.

    Let the floor recover before launching the next pizza.

Pizza being turned with a turning peel inside a pizza oven near a steady flame.
Turn the pizza before the flame-facing side colours too far.
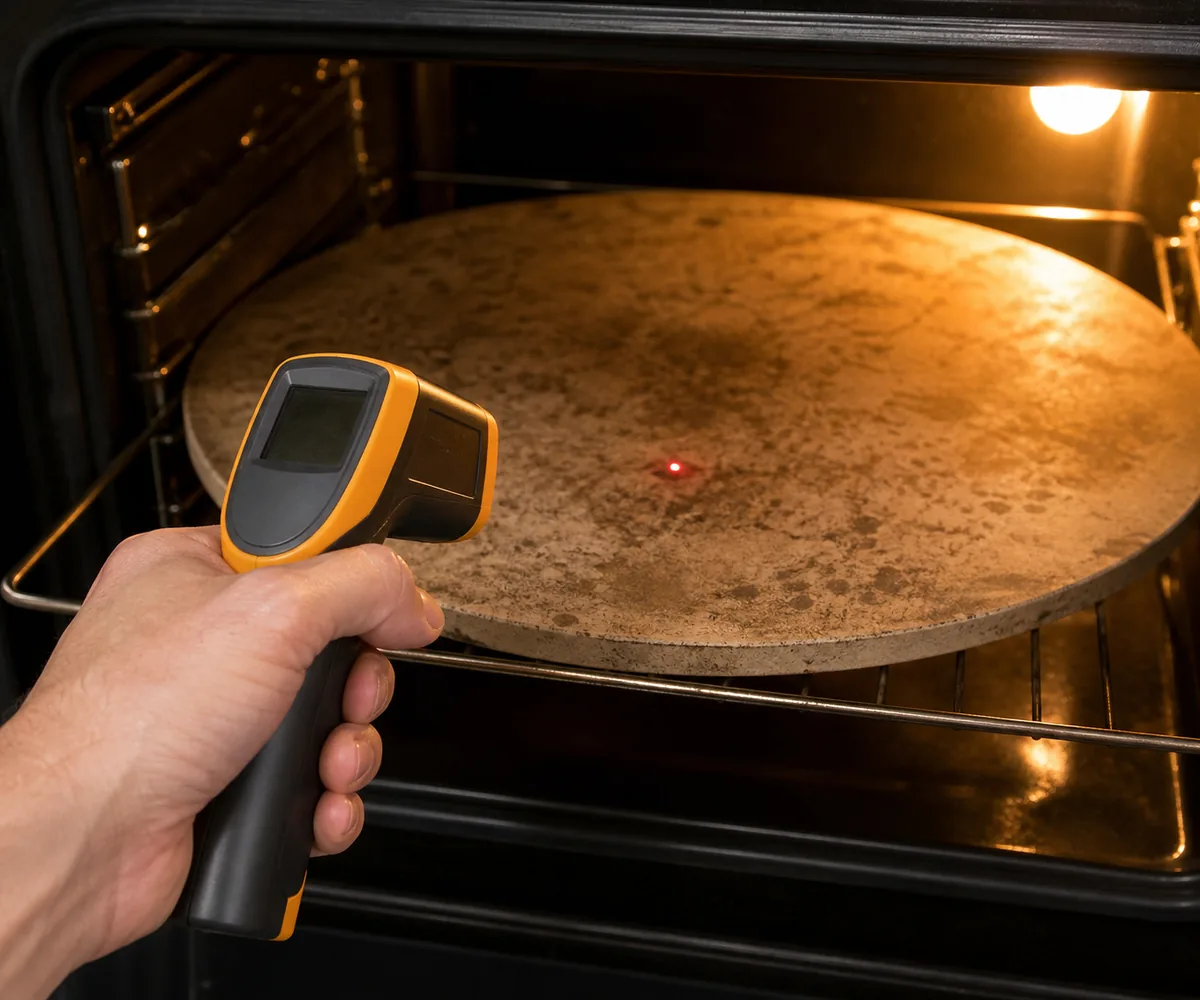
Infrared thermometer aimed at a hot pizza stone inside a home oven.
Check that the baking surface is fully heated before launching.
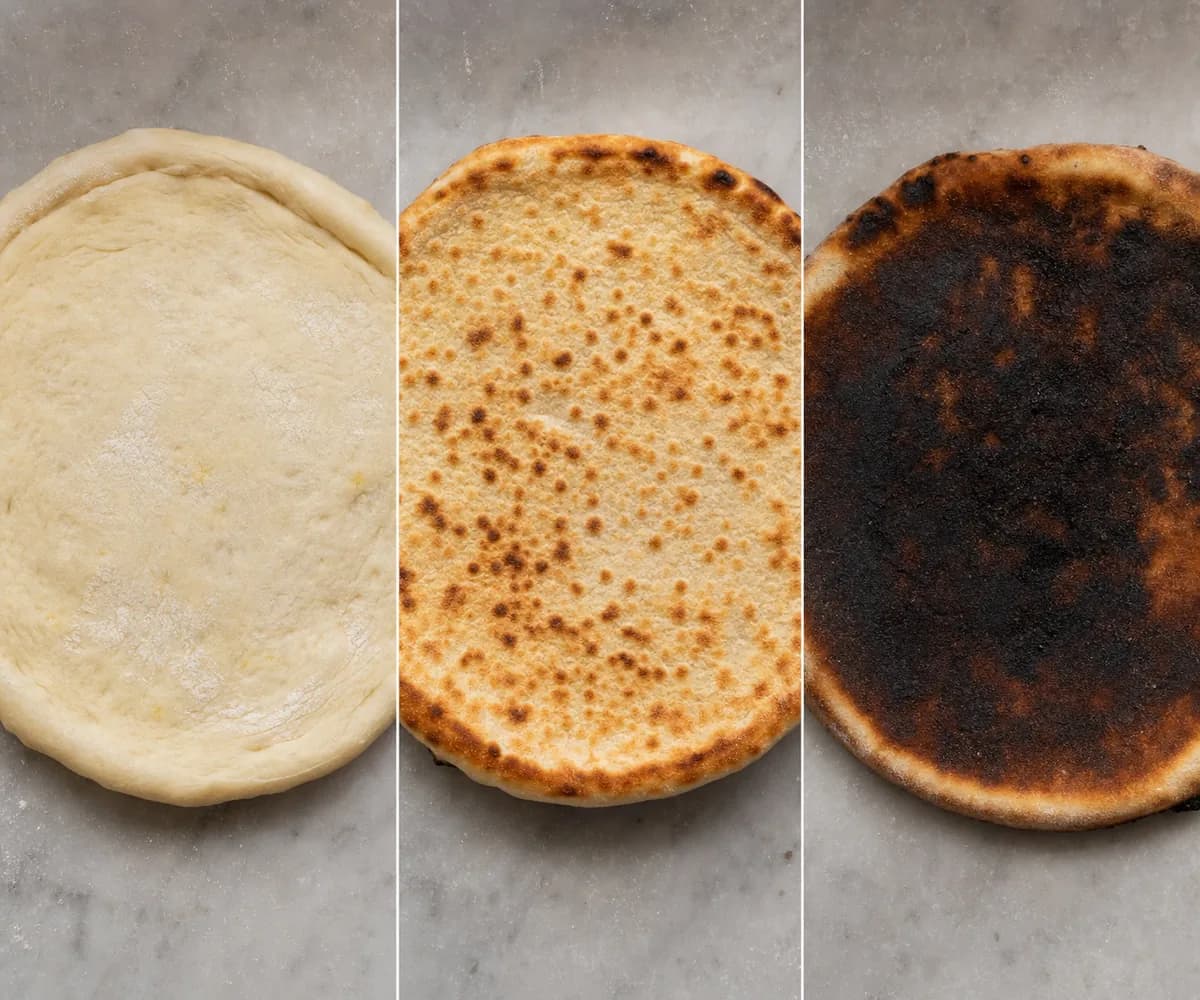
Comparison of pale, properly baked and burnt pizza bases viewed from underneath.
Look for an evenly baked base: not pale and soft, but not deeply burnt.

Troubleshooting

Fix an uneven bake

Explore guide
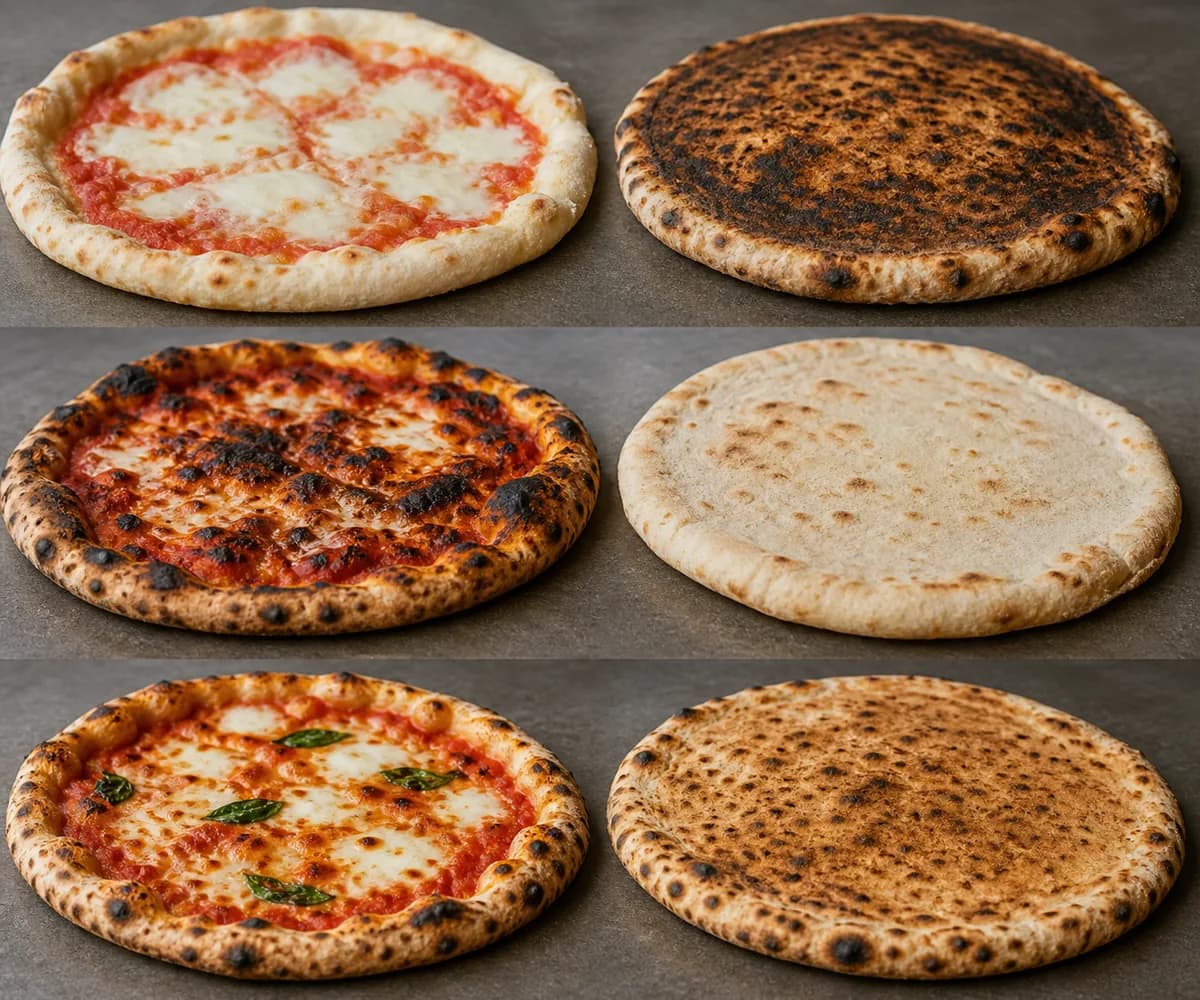
Comparison of uneven and balanced pizza baking with top and base doneness shown separately.
Judge the top and bottom separately before deciding which heat source needs adjustment.

Base burns before the top is ready

Reduce bottom heat or move the pizza away from the hottest surface area. Finish with more controlled top heat.

Top browns before the base is ready

Reduce top exposure and give the base more time on the baking surface.

Base stays pale

Preheat the baking surface longer and confirm that it has recovered before launching.

Centre stays wet

Reduce topping moisture and topping load before increasing bake time.

Pizza plan effect

Use the same oven choice when you plan.

  • Home oven and Pizza oven are the supported pizza-plan choices.
  • The selected oven changes the preheat window and the baking copy used in Timeline and Kitchen.
  • DoughTools keeps the preheat and Kitchen instructions aligned with the oven choice.
  • Choosing Home oven does not promise a dedicated pizza-oven result; it plans for a longer home-oven rhythm.

Other equipment

Start with a small working station, not a full gear wall.

Most pizza nights need a scale, covered dough storage, a scraper, a safe way to launch, and heat awareness. Everything else should support the oven path you actually use.

Essential
6 tools
Useful
5 tools
Optional
2 tools
View all equipment recommendations

Essential

Start with the tools that protect the dough, confirm heat and keep the launch controlled.

Digital kitchen scale with a small bowl on top.

Digital scale

Measures flour, water, salt and dough-ball weight repeatably.

Essential
Oven fit
Both
Beginner need
Yes. Use it from the first batch.
Use or safety note
Use at least 1 g resolution for dough and a 0.01 g scale when yeast amounts are tiny.
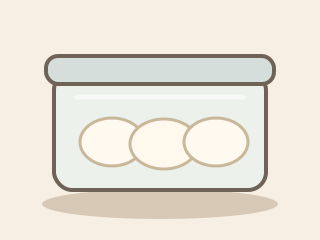
Clear lidded proofing box holding dough balls.

Lidded proofing box

Keeps dough balls covered so they do not dry out before stretching.

Essential
Oven fit
Both
Beginner need
Yes, or use food-safe lidded containers.
Use or safety note
Leave room between dough balls so they do not merge during proofing.
Flat dough scraper beside a dough ball.

Dough scraper

Releases dough from the box and helps move sticky dough without tearing it.

Essential
Oven fit
Both
Beginner need
Yes. It prevents rough handling.
Use or safety note
Scrape under the dough instead of pulling the dough upward by force.
Long launching peel holding an untopped pizza base.

Launching peel

Moves a topped pizza from the station to the hot surface.

Essential
Oven fit
Both
Beginner need
Yes for stone, steel and pizza-oven baking.
Use or safety note
Do a short shake test before launch; if it sticks, lift the edge and add a tiny amount of flour.
Infrared thermometer aimed at a hot baking surface.

Infrared thermometer

Checks whether the stone, steel or oven floor is actually ready.

Essential
Oven fit
Pizza oven; useful for home oven surfaces too
Beginner need
Yes for pizza ovens. Useful for home ovens with stone or steel.
Use or safety note
Measure the same floor spot each time instead of trusting only the top heat or air temperature.
Folded fire blanket beside heat gloves.

Fire blanket and heat gloves

Basic protection around flame, hot metal, stones and trays.

Essential
Oven fit
Both
Beginner need
Yes when working with high heat.
Use or safety note
Keep the blanket reachable and never use gas pizza ovens indoors or in enclosed spaces.

Useful

Add these when you want smoother turns, cleaner prep and better serving flow.

Small round turning peel for rotating pizza.

Turning peel

Turns fast-baking pizza without pulling the whole pizza out of the oven.

Useful
Oven fit
Pizza oven
Beginner need
Not required immediately, but it helps once bakes get faster.
Use or safety note
Lift slightly before turning so the peel does not push through toppings.
Stable prep table with organized pizza tools.

Stable prep table

Gives a clean, steady surface for opening, topping and peel movement.

Useful
Oven fit
Both
Beginner need
Useful if your current surface is cramped or wobbly.
Use or safety note
Keep raw dough, flour, hot tools and finished pizza in separate zones.
Shallow tray with flour for coating dough.

Opening-flour tray

Coats the dough ball evenly before stretching.

Useful
Oven fit
Both
Beginner need
Useful, but a shallow bowl or tray can work at first.
Use or safety note
Use flour sparingly; too much loose flour can burn on hot stone or steel.
Cooling rack set above a cutting board.

Cooling rack and cutting board

Lets steam escape briefly before slicing and serving.

Useful
Oven fit
Both
Beginner need
Useful once the base is baking well.
Use or safety note
Rest the pizza 30-60 seconds on a rack, then cut on a separate board.
Pizza cutter wheel and pizza scissors.

Wheel or pizza scissors

Slices pizza without crushing the rim or dragging toppings.

Useful
Oven fit
Both
Beginner need
Useful but not a launch blocker.
Use or safety note
Keep the blade sharp and avoid cutting on the peel.

Optional

These are convenience or maintenance upgrades, not things you need before the first bake.

Stone brush and scraper for cleaning a baking surface.

Stone brush or scraper

Removes burned flour from the hot surface between pizzas.

Optional
Oven fit
Pizza oven; useful for stone or steel home setups
Beginner need
No. Add it when you bake often.
Use or safety note
Use maker-approved tools and avoid shedding wire bristles. Never pour water on a hot stone.
Protective cover folded beside an outdoor pizza oven.

Cover and storage

Protects outdoor oven parts from weather between uses.

Optional
Oven fit
Pizza oven
Beginner need
No, unless the oven lives outdoors.
Use or safety note
Cover only when the oven is fully cool and dry so moisture is not trapped.